
Anime Crusaders X Testing Zone and Sandbox Controls
Test attacks and abilities in the lobby, or enter a full Infinite-wave test match to adjust enemies, maps and combat conditions.
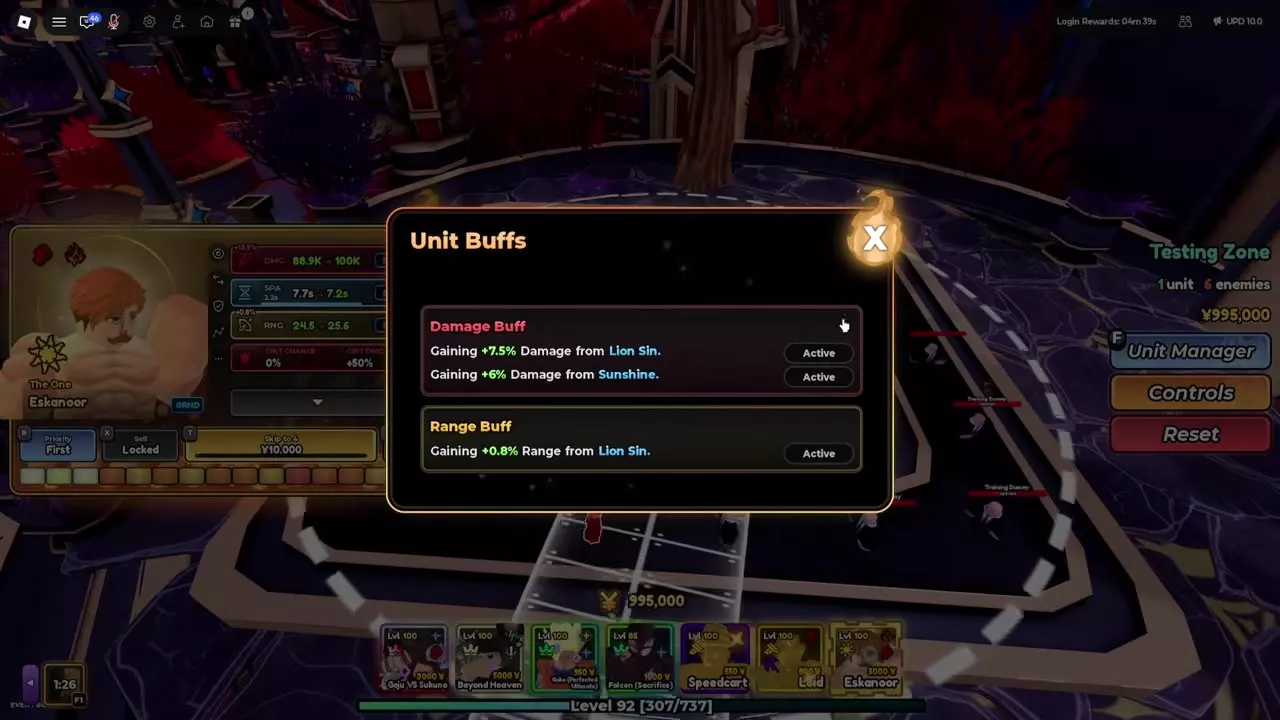
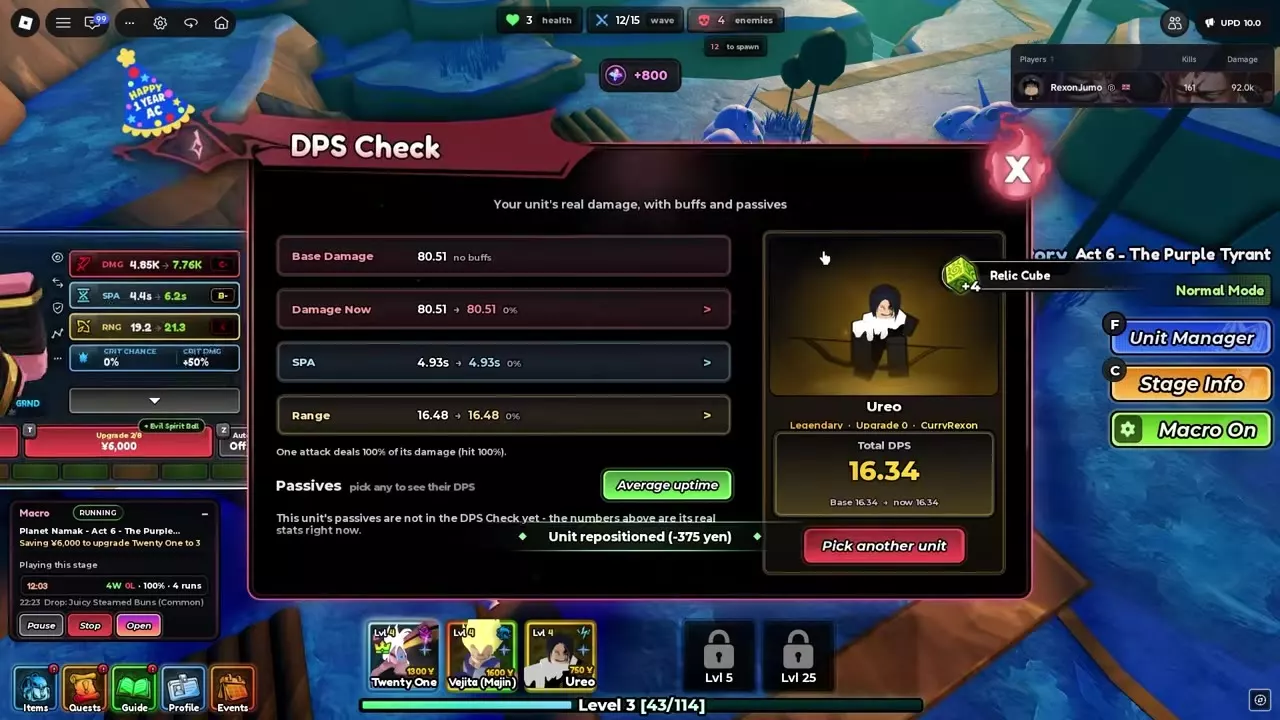
Step into the lobby’s large Testing Zone circle for quick unit and Training Dummy tests. For a full match, choose Play > Other > Testing Zone, select a map and open Sandbox Controls. Use DPS Check for current unit damage statistics, Unit Buffs for active effects and Team Damage for damage each unit has dealt.
Lobby testing or a full test match
Use the lobby Testing Zone to place a unit, buy upgrades and try its abilities against Training Dummies without starting a separate match. Each player sees only their own test units and enemies, so several players can use the circle at once.
Choose the full Testing Zone match, formerly called Sandbox, when you need map-specific positioning, custom enemies or modifiers. Enter through Play > Other > Testing Zone. It supports any map with Infinite waves and lets you place units and Heroes you have obtained.
- Lobby Testing Zone
- Full Sandbox controls
- Enemy modifiers and damage readouts
- Combat rules and unit abilities
2 objects
| Name | Entry | Controls |
|---|---|---|
|
Large lobby circle
|
Units, spawning and status effects
| |
| ||
|
Play > Other > Testing Zone
|
Full match configuration
| |
| ||
Enemy modifiers and damage readouts
Test modifiers
Open Modifiers in Sandbox Controls to apply the conditions you want to test.
| Modifier | Effect |
|---|---|
| Double Cost | Cost +100% |
| High Cost | Cost +50% |
| Mini-Range | Range −75% |
| Short Range | Range −33.3% |
| Flying Enemies | All enemies fly |
| Fast Enemies | Enemy speed +50% |
| Godspeed Enemies | Enemy speed +150% |
| SUPER ULTRA Fast Enemies | Enemy speed +300% |
| Regen Enemies | Regen 1% per second |
| Hyper-Regen Enemies | Regen 10% per second |
| Shield Enemies | +2 shields |
| Steel-Plated Enemies | +10 shields |
Use cost modifiers to test deployment and upgrade affordability, range modifiers to check coverage, and movement modifiers to test how much time your units have to attack. Regeneration and shields provide separate durability conditions. Change one condition at a time when comparing its effect on the same unit setup.
Enemy menu health
The enemy directory gives the health values listed in Sandbox’s enemy selection menu. Spawn health is editable; these menu values are not fixed boss health across other modes. Legendary Monster and Berserk Beast carry the Boss menu tag.
Read damage, buffs and totals
- DPS Check: Inspect the selected unit’s Base Damage, Damage Now, SPA, Range, Passives, Average uptime and Total DPS. Use Pick another unit to change the selection.
- Unit Buffs: Select a unit and open this panel to inspect the effects currently affecting it. No Buffs means no effects are currently affecting that unit.
- Team Damage: Compare the damage each of your units has already dealt during the match.
Use Unit Buffs alongside DPS Check when a damage value changes: the buff panel identifies current effects, while DPS Check reports the selected unit’s current statistics. Team Damage answers a different question—how much damage each unit has accumulated over the fight.
For Ureo at Upgrade 0, one live setup has 80.51 Base Damage, 80.51 Damage Now, 4.93-second SPA, 16.48 Range and 16.34 Total DPS, with 100% attack damage and 100% hit rate. In that setup, Ureo’s passives are excluded from the DPS Check calculation.
9 objects
| Name | Listed health |
|---|---|
|
20 HP
| |
| |
|
20 HP
| |
| |
|
90 HP
| |
| |
|
90 HP
| |
| |
|
120 HP
| |
| |
|
135 HP
| |
| |
|
450 HP
| |
| |
|
475 HP
| |
| |
|
600 HP
| |
| |
Lobby Testing Zone
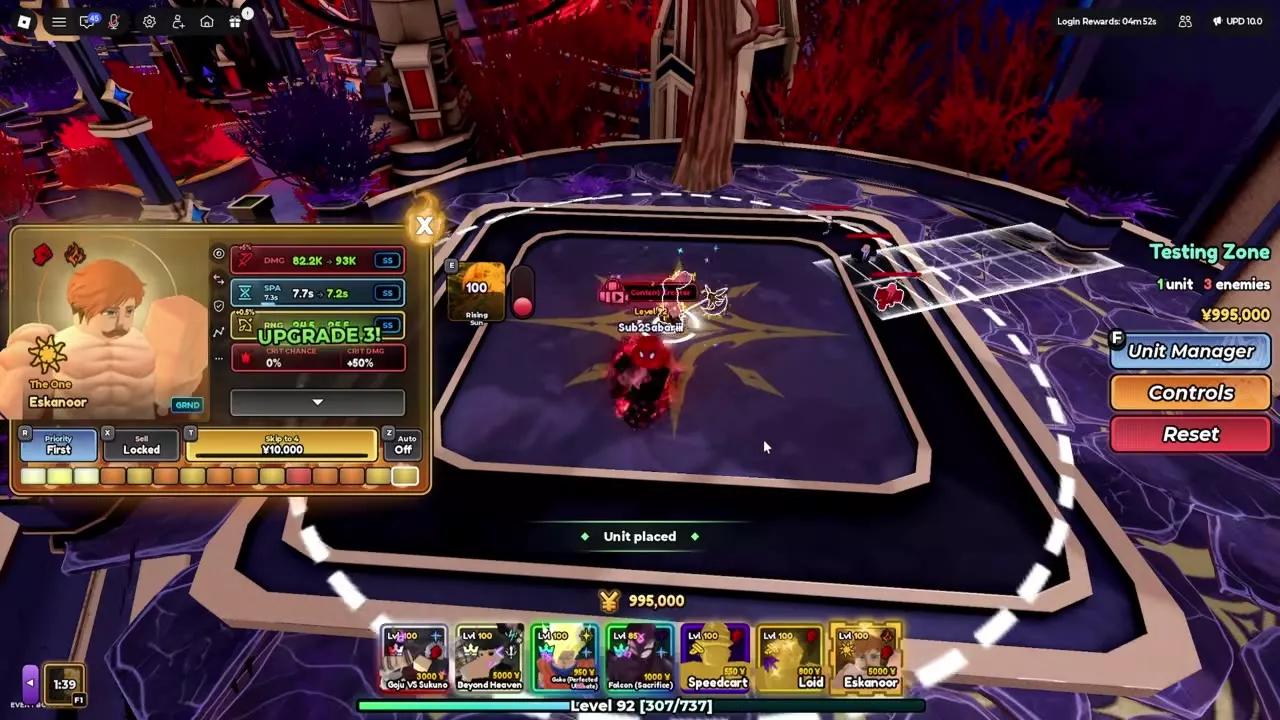
- Enter the large circle marked Testing Zone in the lobby.
- Select a unit from your hotbar. Position its placement preview beside the enemy path, then confirm placement. Use the Place, Cancel, Rotate and Quick Place prompts as needed.
- Select the placed unit and buy upgrades to reach the attack or ability you want to test. Continue to MAX when testing its fully upgraded abilities.
- Let the unit attack Training Dummies, then activate its abilities and inspect the results. Use Unit Manager, Unit Stats, Controls and Reset to adjust the setup.
If placing Goju VS Sukuno opens Choose a Path, select Blessed or Cursed to close the prompt and continue the test.
Keep your setup
Enable Keep Your Testing Zone to restore your previous units, enemy settings and Yen when you return. Turn it off to start a fresh setup each time.
Spawn and status controls
Open Controls to adjust Spawn Gap, toggle Spawning and access Status Effects or Infinite Yen. Spawn Gap sets the interval between enemy spawns; use a longer interval to watch individual attacks and a shorter interval to test coverage against a stream of enemies.
The status panel provides Effect, Time, Apply, Keep and Clear controls. Select the effect and duration for the condition you want to test. For a concrete setup, set Spawn Gap to 2.0 seconds, turn Spawning on and select Freeze for 5 seconds.
Training Dummy
- Location
-
Lobby Testing Zone
- Purpose
-
Attack and ability testing
Full Sandbox controls
- Open Play > Other > Testing Zone.
- Choose a map and start the match.
- Open Sandbox Controls to configure the test.
The panel has Game, Units, Enemies, Modifiers and Maps tabs, plus a Change Team button.
Control waves and the base
In Game, toggle Waves, enter a Wave number and press Go to move to that wave. Use Next wave now to advance immediately.
For the base, adjust Stocks and press Set, or choose Refill the base. Under Clear the field, Remove my units clears your units and Kill every enemy clears the enemies. Clearing enemies is useful before spawning a specific target so ordinary waves do not interfere with the test.
Configure and spawn enemies
- Open Enemies. Search by name, sort A–Z or favorite an enemy for quick access.
- Select the enemy you want to spawn.
- Set its Health, Speed, Shields and Amount.
- Choose Lane Auto, 1, 2 or 3, and set the Boss toggle for your test. Select the spawn point, resistances and modifiers as needed.
- Press Spawn.
Health controls include Default HP, ÷2, ×2 and ×10. Configure health high enough for the attack sequence you want to observe, rather than letting a low-health target disappear after the first hit.
For example, a Berserk Beast setup uses 475 HP, 100% Speed, 0 Shields, Amount 1, Lane Auto and Boss on. These are editable spawn settings.
Units, maps and team selection
Place units or Heroes you have obtained, edit unit stats and Yen, and switch supported unit passives on or off. Use passive toggles to isolate the effect you are comparing.
Use Maps to choose another map and Change Team to access team selection. The Testing Zone map selection includes Shinjuku, Tokyo Empire, Soul Society Ruins and Cell Arena. The Sandbox Maps list also includes Planet Namek, Marine’s Ford, Karakura Town, Shibuya City, Demon District, Devil City, Soul Society, West City Ruins, Culling Games and Doldrey. Testing matches use Infinite waves.
Combat rules and unit abilities
For damage types, Flying enemies, critical hits, targeting and repositioning, use the combat mechanics guide.
Find individual passives, attack properties and upgrade conditions in the unit directory, or use the Heroes directory for Hero growth and ability details.